Trong suốt nhiều thập kỉ qua con người luôn cố gắng tạo ra các thiết bị có khả năng hiểu được ngôn ngữ của con người. Google là một trong những ông lớn theo đuổi ý tưởng này từ khá lâu. Và hiện tại với Cloud Speech API và Cloud Natural Language API dựa trên nền tảng Google Cloud Machine Learning bạn có thể tạo ra một ứng dụng thật sự hiểu được ngôn ngữ tự nhiên của con người.
Yêu cầu:
Để tạo ra được ứng dụng trên, bạn cần có:
- Android Studio 2.2 trở lên
- Tài khoản Google Cloud Platform
- Thiết bị Android 4.4 trở lên
1. Kích hoạt API:
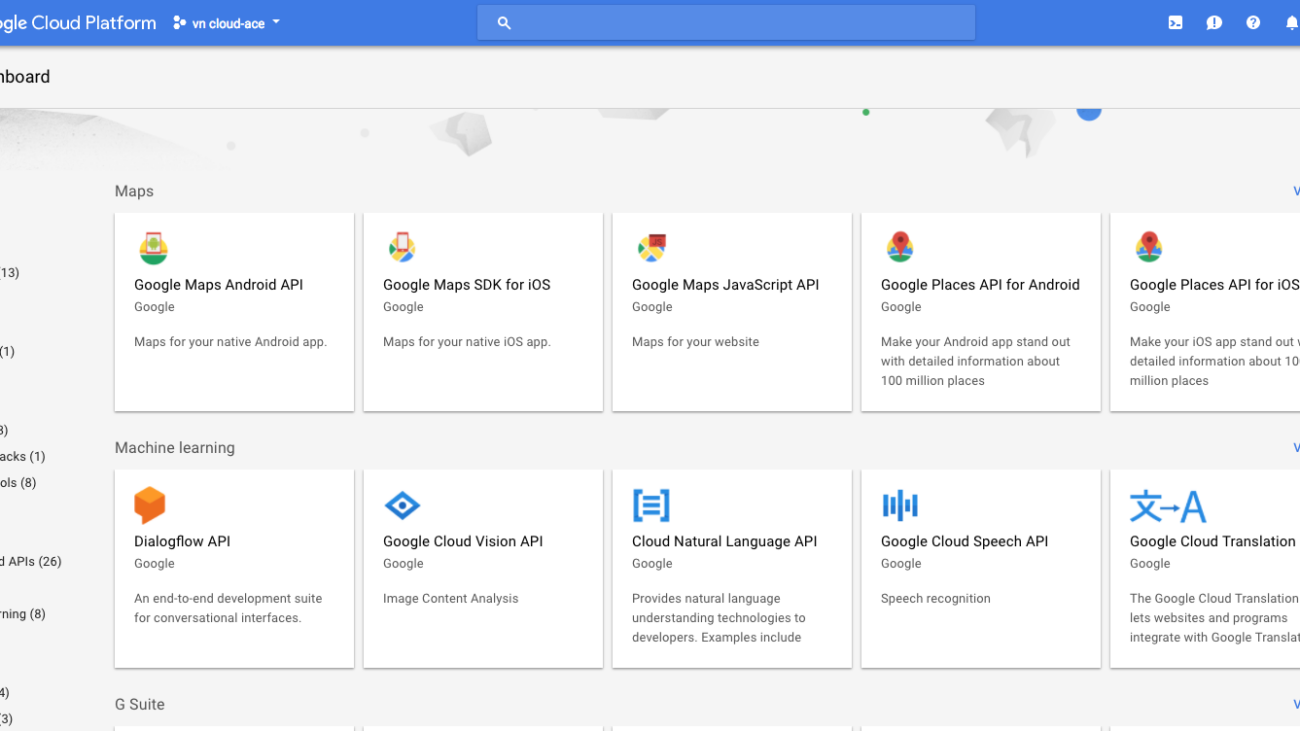
Để sử dụng được Cloud Speech Api và Coud Natural Language Api bạn cần phải kích hoạt 2 Api này trong giao diện Console của Google Cloud Platform, chọn Api & Services > Library. Bạn sẽ thấy danh sách các api mà Google hiện đang cung cấp.

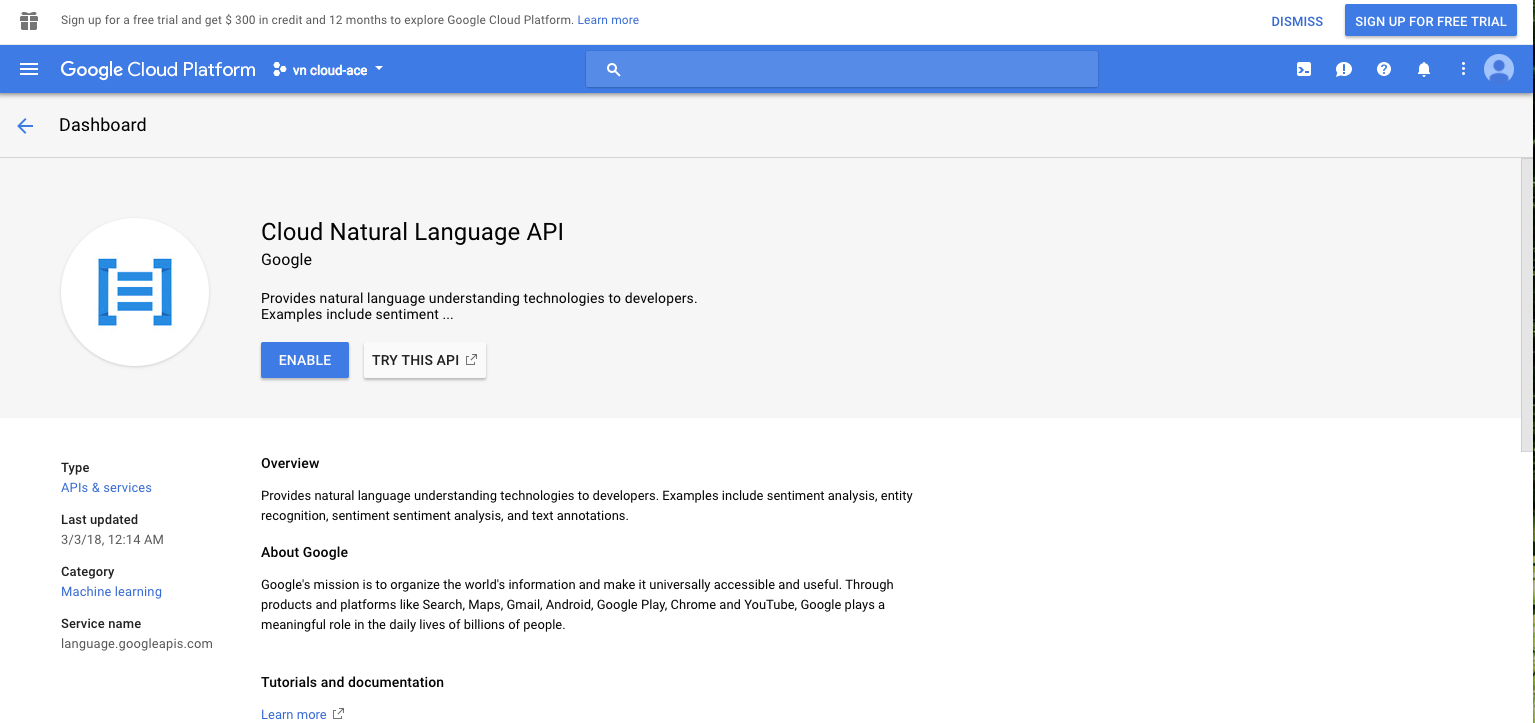
Chọn Google Cloud Natural Languge và nhấn nút ENABLE
Làm tương tự với Google Speech Api

Bạn cần phải có Api Key để có thể tương tác với api. Nếu chưa có, tại giao diện Api & Services, chọn Credentials > Create Credentials > API Key.

2. Cấu hình Ứng Dụng:
Trong File build.gradle(app) các bạn import các thư viện sau:
compile 'com.google.api-client:google-api-client-android:1.22.0'
compile 'com.google.apis:google-api-services-speech:v1beta1-rev336-1.22.0'
compile 'com.google.apis:google-api-services-language:v1beta2-rev6-1.22.0'
compile 'com.google.code.findbugs:jsr305:2.0.1'
Ngoài ra bạn cũng cần thêm thư viện I/O:
compile 'commons-io:commons-io:2.5'Cuối cùng là quyền truy cập Internet trong file AndroidManifest.xml
<uses-permission android:name="android.permission.INTERNET"/>3. Sử dụng Cloud Speed Api:
Bước 1:
Tạo giao diện
Giao diên chính của bạn chỉ đơn giản với 1 TextView hiển thị phụ đề và một Button để chọn file âm thanh.
<TextView
 android:layout_width="match_parent"
 android:layout_height="wrap_content"
 android:text=""
 android:id="@+id/speech_to_text_result"
 android:textSize="18sp"
 android:layout_alignParentTop="true"
/>

<Button
 android:layout_width="match_parent"
 android:layout_height="wrap_content"
 android:layout_alignParentBottom="true"
 android:id="@+id/browse_button"
 android:text="Browse"
/>
Bước 2:
Tạo file Picker
Khi nhấn vào nút Browser cho phép người dùng chọn file âm thanh trong máy
Button browseButton = (Button)findViewById(R.id.browse_button);

browseButton.setOnClickListener(new View.OnClickListener() {
 @Override public void onClick(View view) {
  // More code here
  Intent filePicker = new Intent(Intent.ACTION_GET_CONTENT);
filePicker.setType("audio/flac");
startActivityForResult(filePicker, 1);
 }
});

Sau khi chọn được file âm thanh, dùng hàm ActivityForResult để nhận file
@Override
protected void onActivityResult(int requestCode,
 int resultCode, Intent data) {
  super.onActivityResult(requestCode, resultCode, data);
  if(resultCode == RESULT_OK) {
   final Uri soundUri = data.getData();
/ More code here
 }
}
Tiếp bước 2:
Mã hóa tập tin
Cloud Speech Api yêu cầu tập tin âm thanh của nó dạng Base64. Nên bạn cần phải mã hóa tập tin bạn vừa nhận được dưới dạn Base64.
AsyncTask.execute(new Runnable() {
 @Override
 public void run() {
   InputStream stream = getContentResolver()
    .openInputStream(soundUri);
   byte[] audioData = IOUtils.toByteArray(stream);
   stream.close();

   String base64EncodedData =
    Base64.encodeBase64String(audioData);

   // More code here
 }
}
Trong thời gian trích xuất phụ đề, bạn nên phát tập tin âm thanh của mình. Như thế sẽ tạo cảm giác tốt hơn với người dùng.
MediaPlayer player = new MediaPlayer();
 player.setDataSource(MainActivity.this, soundUri);
 player.prepare(); player.start();

// Release the player
 player.setOnCompletionListener(
  new MediaPlayer.OnCompletionListener() {
    @Override
    public void onCompletion(MediaPlayer mediaPlayer) {
     mediaPlayer.release();
 }
});
Bước 3:
Trích xuất phụ đề
Để tiến hành trích xuất phụ đề bạn cần sử dụng Api Key mà bạn đã đăng ký với Google lúc nãy.
private final String CLOUD_API_KEY = "Your_api_key";

Tiếp theo tạo ra 1 đối tượng Speech với Key Api
 Speech speechService = new Speech.Builder(
 AndroidHttp.newCompatibleTransport(),
 new AndroidJsonFactory(),
 null
 ).setSpeechRequestInitializer(
 new SpeechRequestInitializer(CLOUD_API_KEY)) .
build();
Tạo đối tượng config để thiết lập ngôn ngữ cho phụ đề của bạn.
RecognitionConfig recognitionConfig = new RecognitionConfig();
recognitionConfig.setLanguageCode("en-US");
Đưa chuỗi âm thanh dạng base64 sang RecognitionAudio
RecognitionAudio recognitionAudio = new RecognitionAudio();
recognitionAudio.setContent(base64EncodedData);
Tiến hành tạo trích xuất phụ đề:
// Create request
SyncRecognizeRequest request = new SyncRecognizeRequest();
request.setConfig(recognitionConfig);
request.setAudio(recognitionAudio);

// Generate response
SyncRecognizeResponse response = speechService.speech()
 .syncrecognize(request)
 .execute();

// Extract transcript
SpeechRecognitionResult result = response.getResults().get(0);
final String transcript = result.getAlternatives().get(0)
 .getTranscript();
4. Sử dụng Google Cloud Natural Language Api
Giờ chúng ta sẽ sử dụng Api Google Cloud Natural Language Api để phân tích các yếu tố trong file ví dụ như địa điểm, nghề nghiệp, nội dung của file âm thanh là vui, buồn hay trung lập….
Bước 1:
Cập nhật giao diện
Quay lại giao diện chính và thêm vào nút Analyze
<Button
 android:layout_width="match_parent"
 android:layout_height="wrap_content"
 android:layout_above="@+id/browse_button"
 android:id="@+id/analyze_button"
 android:text="Analyze"
/>
Bước 2:
Phân tích phụ đề
Khi nhấn vào nút Analyze bạn cần thực hiện các lệnh sau:
Đầu tiên là bắt sự kiện cho nút
Button analyzeButton = (Button)findViewById(R.id.analyze_button);
analyzeButton.setOnClickListener(new View.OnClickListener() {
 @Override public void onClick(View view) {
  // More code here
 }
});
Bên dưới dòng // More code here tạo một đối tượng naturalLanguageService để tương tác với API
final CloudNaturalLanguage naturalLanguageService =
 new CloudNaturalLanguage.Builder(
  AndroidHttp.newCompatibleTransport(),
  new AndroidJsonFactory(),
  null
).setCloudNaturalLanguageRequestInitializer(
 new CloudNaturalLanguageRequestInitializer(CLOUD_API_KEY)
).build();
Tất cả nội dung các bạn phân tích được, sẽ lưu trên document , và bạn sẽ hiển thị nội dung đó trên textview
String transcript =
 ((TextView)findViewById(R.id.speech_to_text_result))
  .getText().toString();

Document document = new Document();
document.setType("PLAIN_TEXT");
document.setLanguage("en-US");
document.setContent(transcript);
Khởi tạo đối tượng feature, và thiết lập các tính năng bạn muốn phân tích
Features features = new Features();
features.setExtractEntities(true);
features.setExtractDocumentSentiment(true);
Để tiến hành thực hiện bạn cần tạo AnnotateTextRequest và thiết lập các thông tin như sau
final AnnotateTextRequest request = new AnnotateTextRequest();
request.setDocument(document);
request.setFeatures(features);

AsyncTask.execute(new Runnable() {
 @Override
 public void run() {
   AnnotateTextResponse response =
    naturalLanguageService.documents()
    .annotateText(request).execute();

  // More code here
 }
}
Bạn có thể trích xuất một danh sách các thực thể từ đối tượng AnnotateTextResponse bằng cách gọi phương thức getEntities() của nó. Tương tự, bạn có thể trích xuất biểu cảm chung của phụ đề bằng cách gọi phương thức getDocumentSentiment(). Tuy nhiên, để lấy được điểm số thực tế của biểu cảm, bạn cũng phải gọi phương thức getScore() trả về một số float.
Tổng quan:
Thông qua bài viết này các bạn đã biết cách sử dụng Cloud Speech Api để trích xuất phụ đề của một tập tin âm thanh cũng như sử dụng Cloud Natural Language Api để biết được các thông tin khác như địa chỉ, người đọc, trạng thái âm thanh, biểu cảm….
Hiện tại Cloud Speech Api đã hỗ trợ 110 ngôn ngữ với các tính năng luôn được cập nhật liên tục để mang lại những trải nghiệm tốt hơn cho người dùng.
Link:
Các bạn có thể tải project mẫu theo đường link bên dưới:
https://github.com/tutsplus/create-an-intelligent-app-with-google-cloud-speech-and-natural-language-apis