Chào mọi người, lần trước mình có chia sẽ các bài viết về Dataflow trong series Vuejs của mình.
Như mọi người đã biết việc cập nhật ứng dụng là điều hoàn toàn bình thường và rất thường xuyên gặp phải, và làm thế nào để ta có thể thông báo cho khách hàng biết rằng có bản cập nhật mới, sau đây mình xin phép chia sẽ ít kinh nghiệm mình đã học được trong quá trình làm việc.
Bài viết này mình sẽ không nói về các khái niệm vuejs, service worker, pwa... là gì, mình sẽ đi vào hướng dẫn mọi người cách để xây dựng nó như thế nào.
Đầu tiên bạn có thể tạo mới project, sau đó cài đặt 1 số thư viện và plugin cần thiết như register-service-worker , vuetify, @vue/cli-plugin-pwa
Sau đó chúng ta tạo 1 file tên registerServiceWorker rồi import vào main.js
                import Vue from 'vue'
    import App from './App.vue'
    import './registerServiceWorker'
    import vuetify from './plugins/vuetify'

    Vue.config.productionTip = false
    Vue.use(vuetify)

    new Vue({
      vuetify,
      render: h => h(App),
    }).$mount('#app')
Sau đó vào file registerServiceWorker sử dụng cấu trúc như đã được hướng dẫn trong đường dẫn thư viện
Nhìn vào đây chắc mọi người cũng phần nào có thể hình dung ra cách hoạt động của nó, ở đây mình chỉ cho nó hoạt động ở môi trường production
            import { register } from 'register-service-worker'

if (process.env.NODE_ENV === 'production') {
  register(`${process.env.BASE_URL}service-worker.js`, {
    ready() {
      console.log(
        'App is being served from cache by a service worker.\n' +
        'For more details, visit https://goo.gl/AFskqB'
      )
    },
    registered() {
      console.log('Service worker has been registered.')
      // Routinely check for app updates by testing for a new service worker.
    },
    cached() {
      console.log('Content has been cached for offline use.')
    },
    updatefound(registration) {
      console.log('New content is downloading.')
      const installingWorker = registration.installing
      console.log(installingWorker)

      document.dispatchEvent(
        new CustomEvent('swUpdateFound', { detail: registration })
      )
    },
    updated(registration) {
      console.log('New content is available; please refresh.')
      document.dispatchEvent(
        new CustomEvent('swUpdated', { detail: registration })
      )
      // Add a custom event and dispatch it.
      // Used to display of a 'refresh' banner following a service worker update.
      // Set the event payload to the service worker registration object.

    },
    offline() {
      console.log(
        'No internet connection found. App is running in offline mode.'
      )
    },
    error(error) {
      console.error('Error during service worker registration:', error)
    },
  })
}
Ở trên đó đoạn gọi hàm register() đến file service-worker.js, bây giờ ta sẽ tạo file service-worker.js
            // This is the code piece that GenerateSW mode can't provide for us.
// This code listens for the user's confirmation to update the app.

self.addEventListener('message', (event) => {
  if (event.data && event.data.type === 'SKIP_WAITING') {
    self.skipWaiting();
  }
});

workbox.routing.registerRoute(
  new RegExp("http://fonts.(?:googleapis|gstatis).com/(.*)"),
  new workbox.strategies.CacheFirst({
    cacheName: "googleapis",
    plugins: [
      new workbox.expiration.Plugin({
        maxEntries: 30
      })
    ],
    method: "GET",
    cacheableResponse: { status: [0, 200] }
  })
);
workbox.core.setCacheNameDetails({ prefix: "demo" });
workbox.core.clientsClaim(); // Vue CLI 4 and Workbox v4, else
// workbox.clientsClaim(); // Vue CLI 3 and Workbox v3.

// The precaching code provided by Workbox.
self.__precacheManifest = [].concat(self.__precacheManifest || []);
// workbox.precaching.suppressWarnings(); // Only used with Vue CLI 3 and Workbox v3.
workbox.precaching.precacheAndRoute(self.__precacheManifest, {});
Ở trên có 1 khái niệm là workbox, các bạn có thể đọc thêm workbox là gì ở đây
Và sau khi đã tạo file service-worker.js thì chúng ta sẽ trỏ đường dẫn file cho pwa, bằng cách tạo file tên vue.config.js với nội dung như sau
            const path = require("path");
function resolve(dir) {
  return path.join(__dirname, dir);
}
module.exports = {
  pwa: {
    workbox: {
      config: {
        debug: true
      }
    },
    //workboxPluginMode: 'GenerateSW',
    workboxPluginMode: 'InjectManifest',
    workboxOptions: {
      swSrc: 'src/service-worker.js'
    }
  },
  productionSourceMap: false,
  outputDir: 'dist',
  configureWebpack: {

  },

  chainWebpack: config => {
    // config.resolve.alias.set("@$", resolve("src")).set("@views", resolve("src/views"));
    config.resolve.alias.set("@$", resolve("src"))
  },

  css: {
    loaderOptions: {
      less: {
        modifyVars: {},
        javascriptEnabled: true
      }
    }
  },
  assetsDir: "static",
  runtimeCompiler: true
};
Sau khi đã hoàn thành các bước trên, bây giờ ta sẽ bắt đầu viết phần giao diện nhận thông báo, ở đây ta sẽ tạo 1 file mixins hoặc các bạn thể viết trực tiếp vào trong App.vue
            export default {
  data() {
    return {
      // refresh variables
      refreshing: false,
      registration: null,
      updateExists: false,
    }
  },

  created() {
    // Listen for our custom event from the SW registration
    document.addEventListener('swUpdated', this.updateAvailable, { once: true })
    // document.addEventListener('forceUpdated', this.forceUpdate, { once: true })

    // Prevent multiple refreshes
    navigator.serviceWorker.addEventListener('controllerchange', () => {
      if (this.refreshing) return
      this.refreshing = true
      // Here the actual reload of the page occurs
      window.location.reload()
    })
  },

  methods: {
    // Store the SW registration so we can send it a message
    // We use `updateExists` to control whatever alert, toast, dialog, etc we want to use
    // To alert the user there is an update they need to refresh for

    updateAvailable(event) {
      this.registration = event.detail
      this.updateExists = true
      // this.refreshBrowser()
    },

    // Called when the user accepts the update
    refreshApp() {
      this.updateExists = false
      // Make sure we only send a 'skip waiting' message if the SW is waiting
      if (!this.registration || !this.registration.waiting) return
      // send message to SW to skip the waiting and activate the new SW
      this.registration.waiting.postMessage({ type: 'SKIP_WAITING' })
      window._VMA.$emit("SHOW_SNACKBAR", {
        text: "Update Complete",
        color: "success",
        icon: "mdi-checkbox-marked-circle"
      })
    },
  }
}
Sau đó ta sẽ import mixins vào App.vue để có thể dùng các method trong đó
Hiển thị thông báo ta sẽ dùng snackbar của Vuetify, dưới đây là file App.vue
            <template>
  <v-app>
    <div id="app">
      <img alt="Vue logo" src="./assets/logo.png" />
      <h1>Build Ver 001</h1>
      <p>
        Lorem Ipsum is simply dummy text of the printing and typesetting
        industry. Lorem Ipsum has been the industry's standard dummy text ever
        since the 1500s, when an unknown printer took a galley of type and
        scrambled it to make a type specimen book. It has survived not only five
        centuries, but also the leap into electronic typesetting, remaining
        essentially unchanged. It was popularised in the 1960s with the release
        of Letraset sheets containing Lorem Ipsum passages, and more recently
        with desktop publishing software like Aldus PageMaker including versions
        of Lorem Ipsum.
      </p>
      <v-snackbar
        class="mb-5"
        bottom
        :value="updateExists"
        :timeout="-1"
        color="primary"
        height="60"
      >
        <v-icon class="mr-2"> mdi-download</v-icon>
        <span>An update is available</span>
        <template v-slot:action="{ attrs }">
          <v-btn outlined v-bind="attrs" text @click="refreshApp">
            Update
          </v-btn>
        </template>
      </v-snackbar>
      <v-snackbar
        class="pa-0"
        :timeout="3000"
        app
        top
        centered
        elevation="24"
        :color="snackbar.color"
        v-model="snackbar.show"
      >
        <v-icon class="pr-1" small color="white">
          {{ snackbar.icon }}
        </v-icon>
        <span style="font-weight: 600" color="white">
          {{ snackbar.text }}
        </span>
        <template v-slot:action="{ attrs }">
          <v-btn icon v-bind="attrs" @click="snackbar.show = false">
            <v-icon>mdi-close</v-icon>
          </v-btn>
        </template>
      </v-snackbar>
    </div>
  </v-app>
</template>

<script>
import EventUpdate from "./mixins/EventUpdate";

export default {
  mixins: [EventUpdate],
  name: "App",
  data() {
    return {
      snackbar: {
        show: false,
        text: "",
        color: "",
        icon: "",
      },
    };
  },
  created() {
    this.$on("SHOW_SNACKBAR", (e) => {
      this.snackbar = {
        show: true,
        text: e.text,
        color: e.color,
        icon: e.icon,
      };
    });
  },
  mounted() {
    if (typeof window !== undefined && window._VMA === undefined) {
      window._VMA = this;
    }
  },
};
</script>

<style>
#app {
  font-family: Avenir, Helvetica, Arial, sans-serif;
  -webkit-font-smoothing: antialiased;
  -moz-osx-font-smoothing: grayscale;
  text-align: center;
  color: #2c3e50;
  margin-top: 60px;
}
</style>
Vì mình đang chạy service worker ở môi trường production nên để sử dụng mọi người dùng lệnh yarn build, rồi đến yarn start
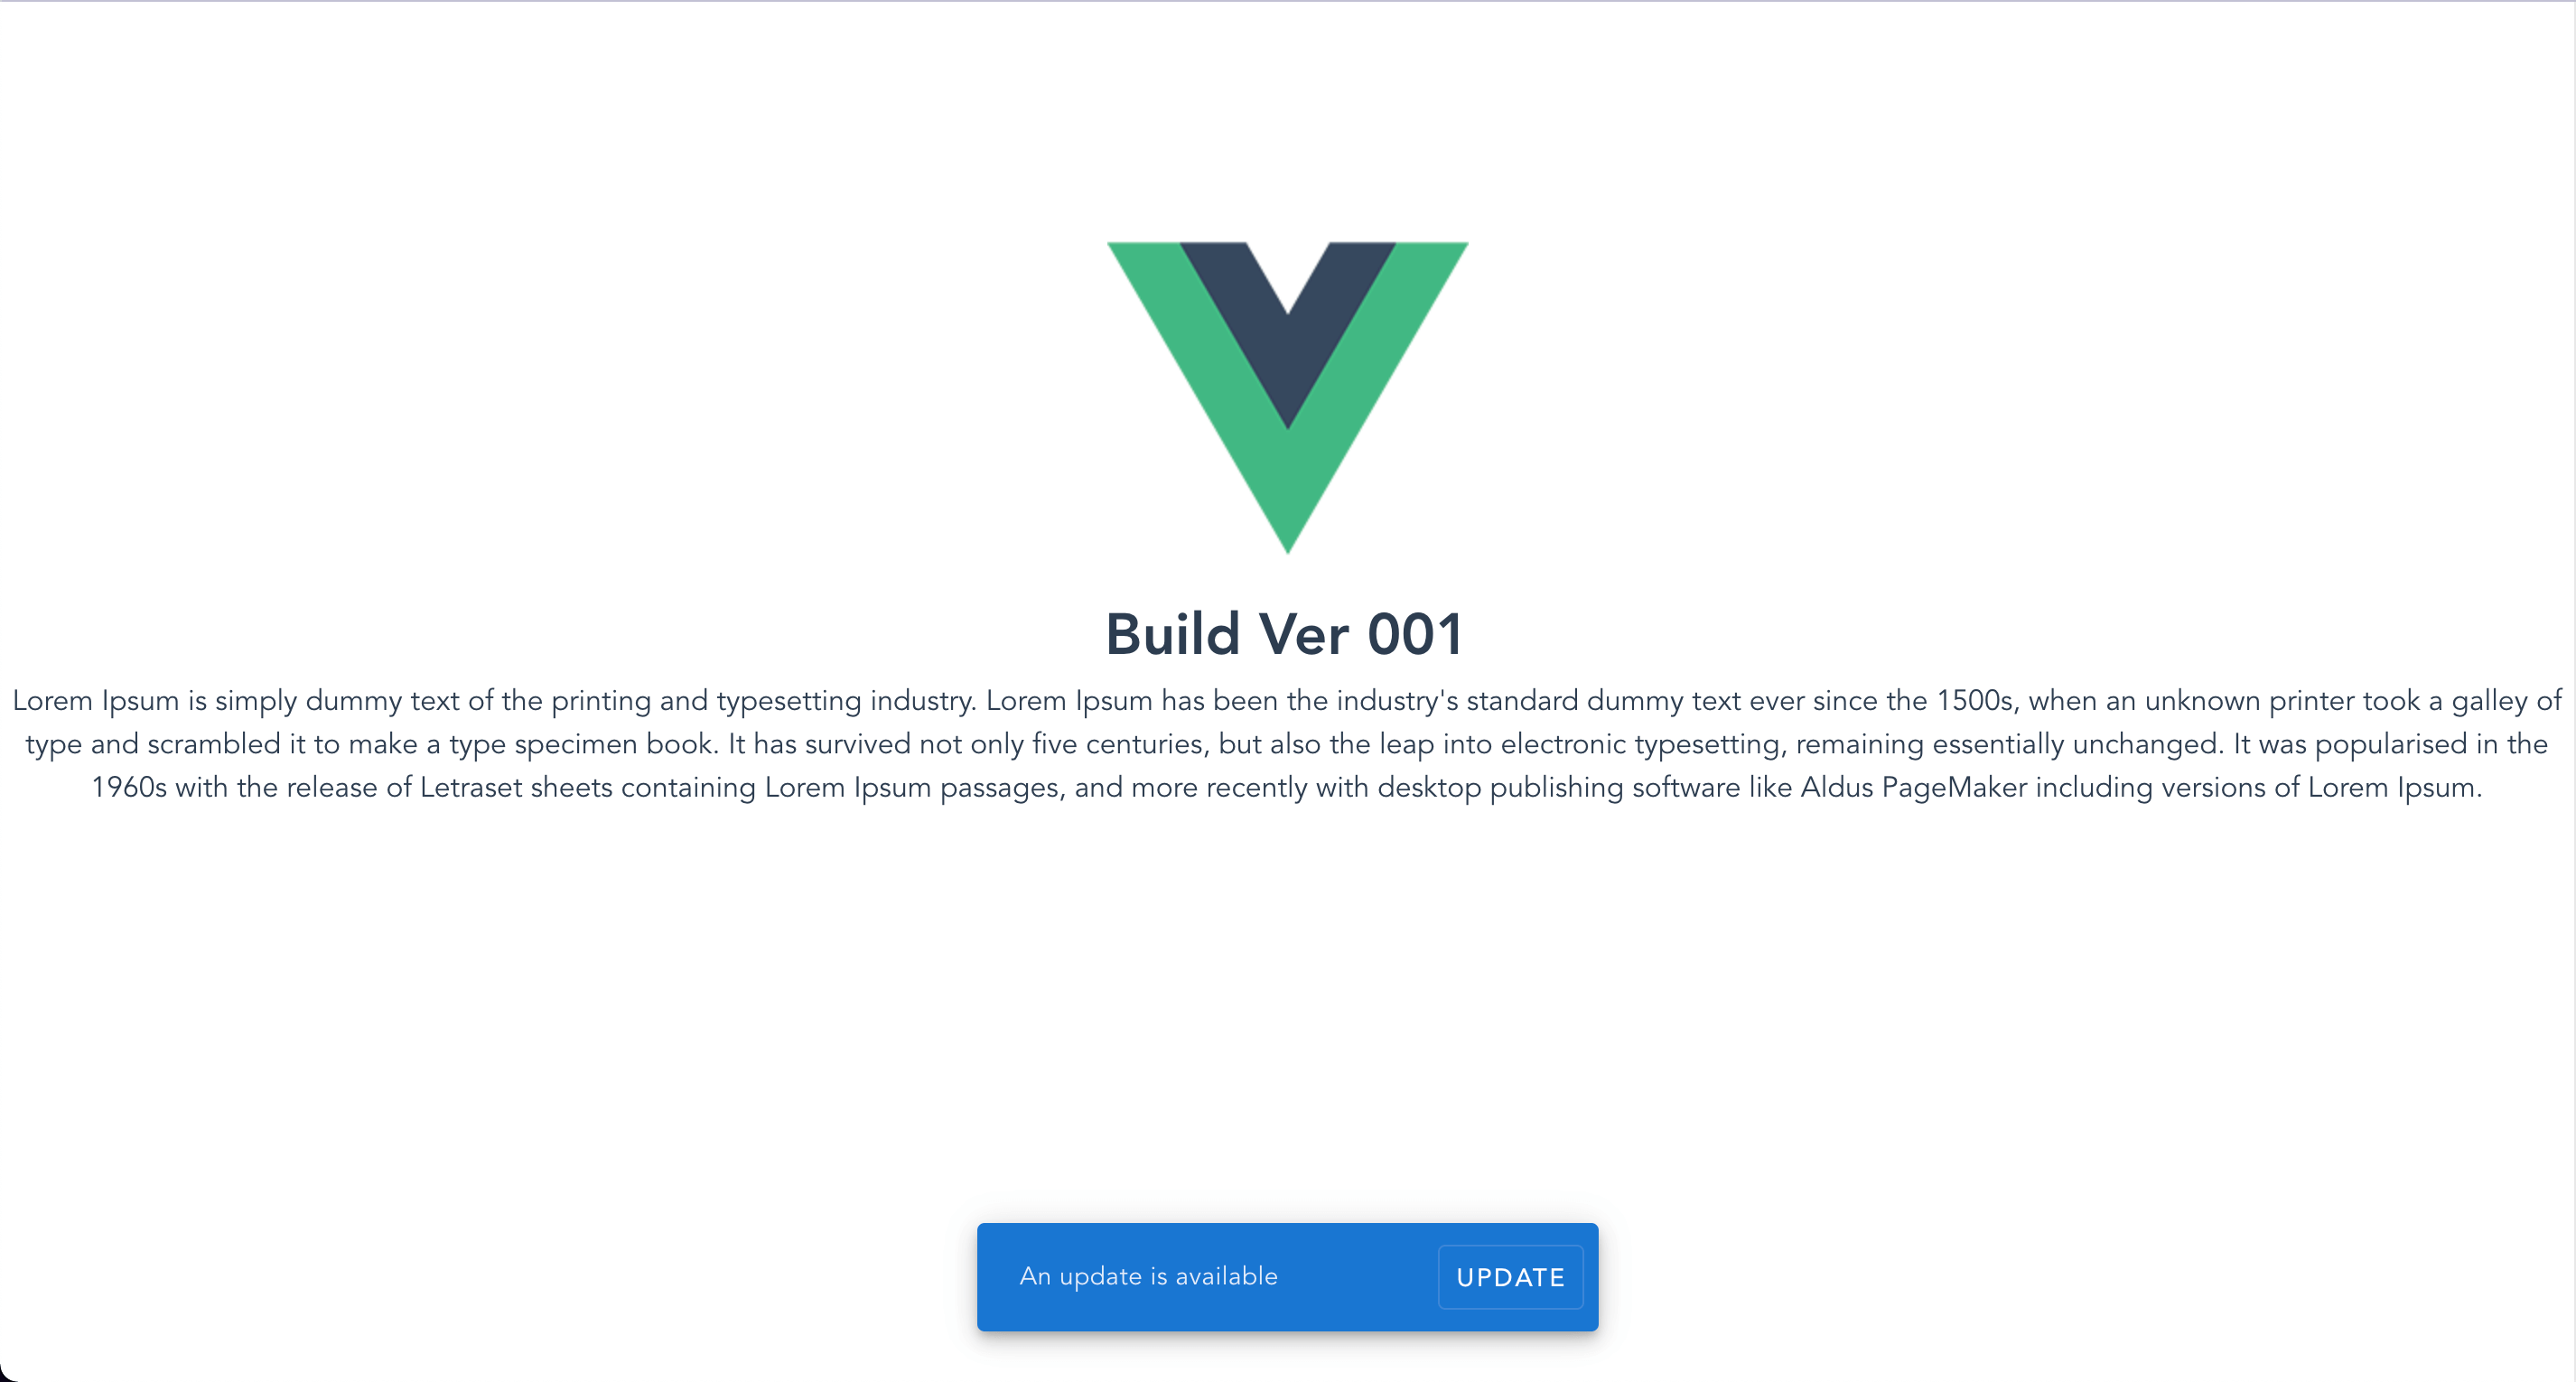
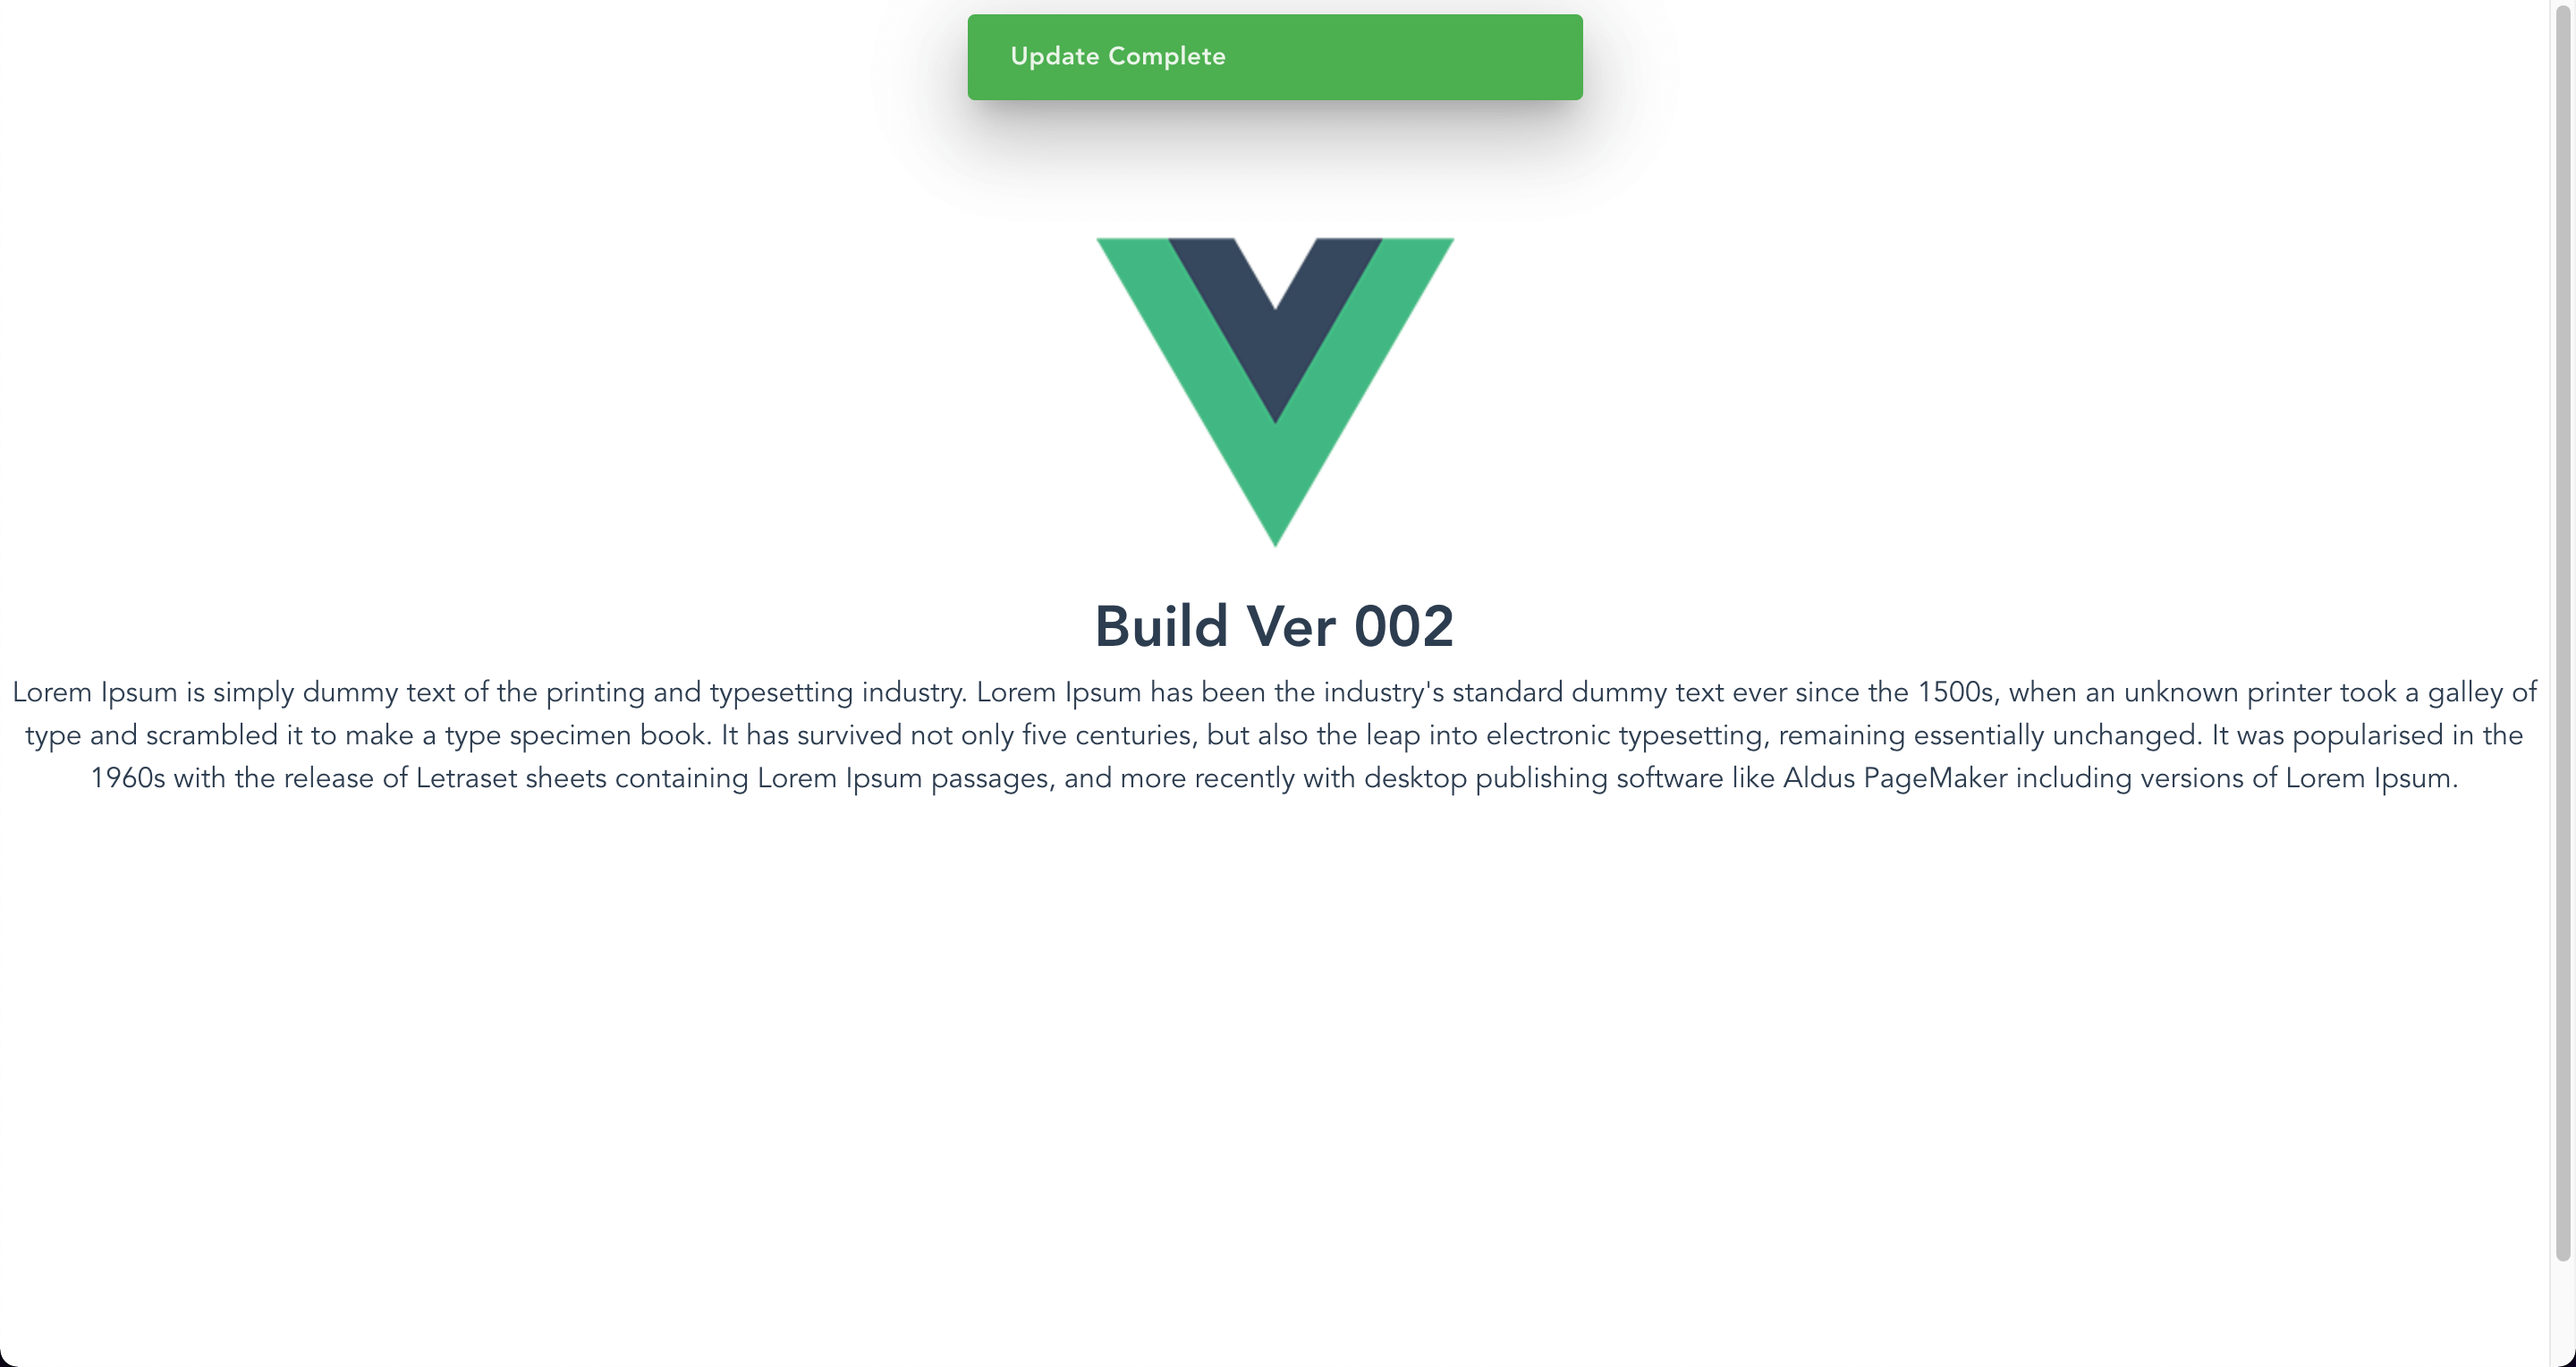
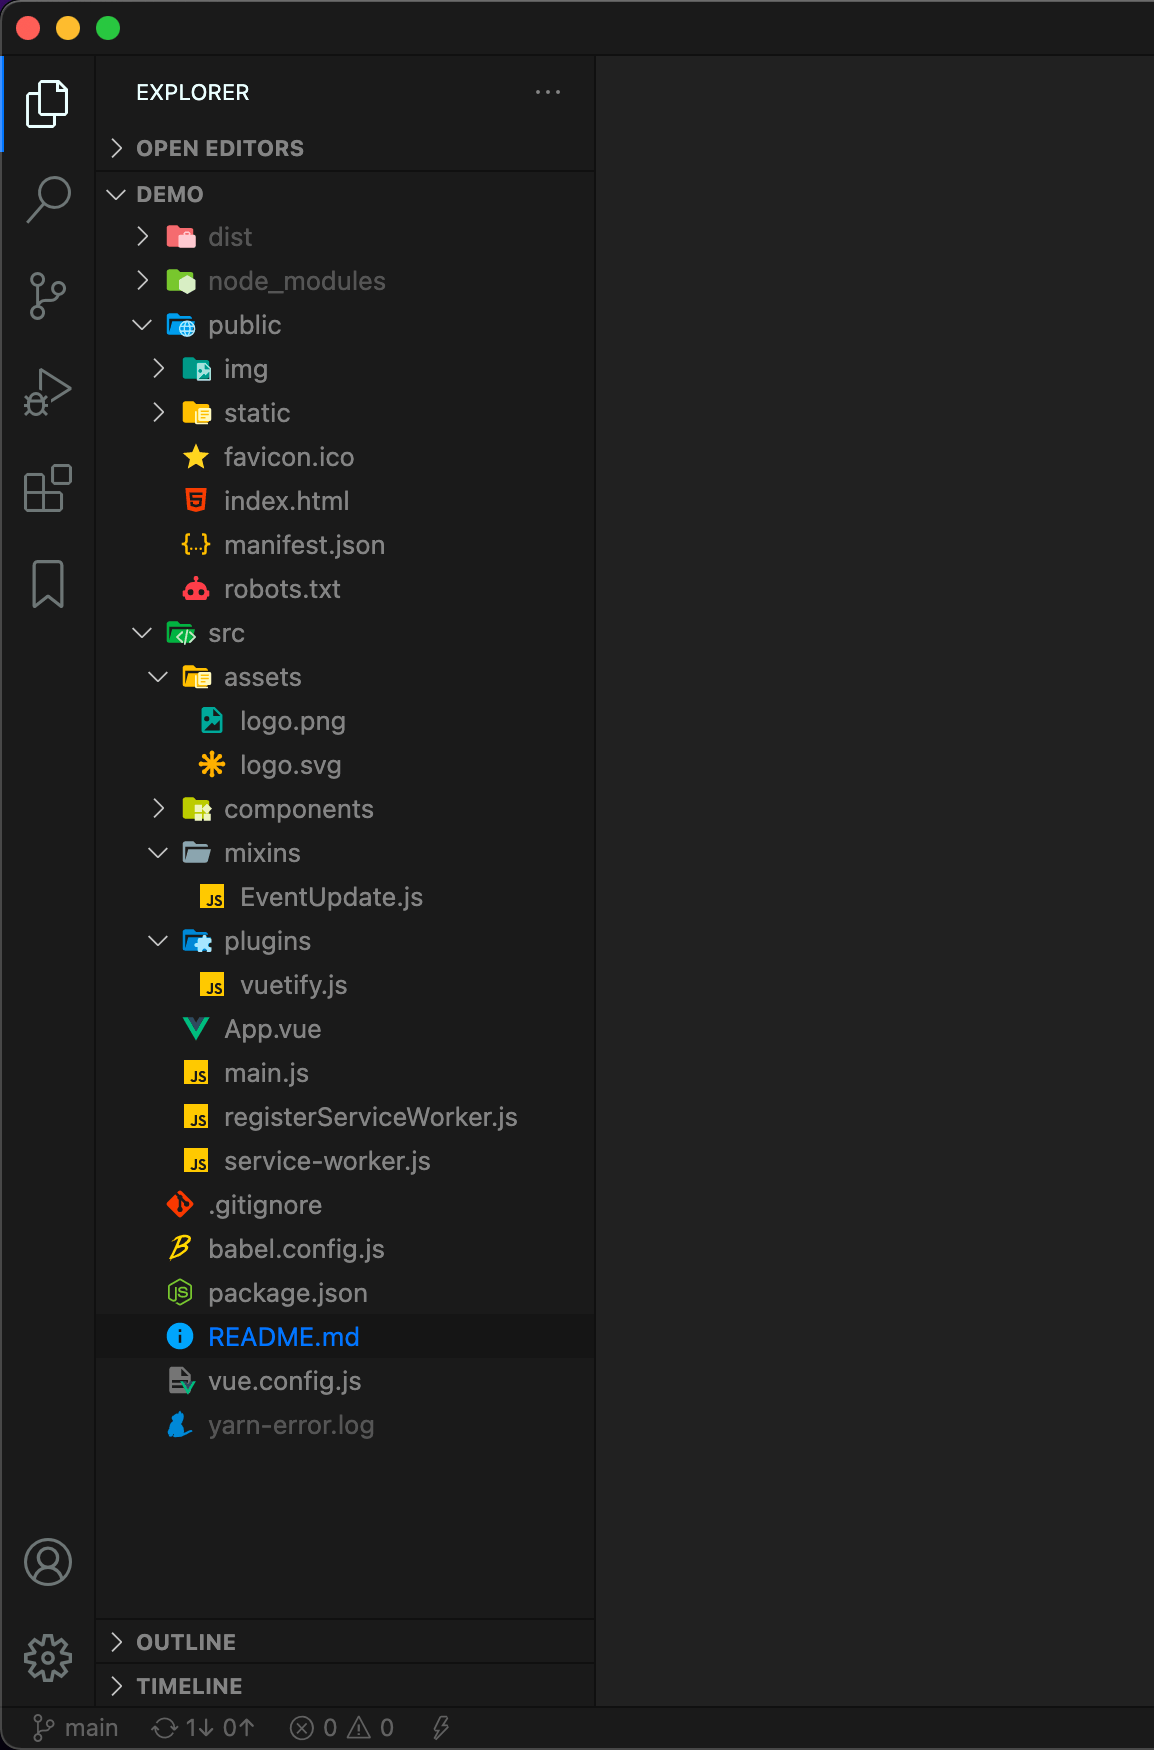
Dưới đây là 1 số hình ảnh về project


Bài viết đến đây là hết, hi vọng bài viết của mình không quá dài dòng để mọi người dễ hình dung về cách hoạt động của nó, bài viết sau mình sẽ viết về cách triển khai một ứng dụng CICD Vuejs với Cloud Run.
Mình có để đường dẫn git ở đây, để mọi người có thể tìm hiểu thêm.


