Trong bài này chúng ta sẽ deploy một Flask App trên Compute Engine.
Tạo Compute Engine
1. Tại trang Console, chọn Navigation menu → Compute Engine → VM Instances.
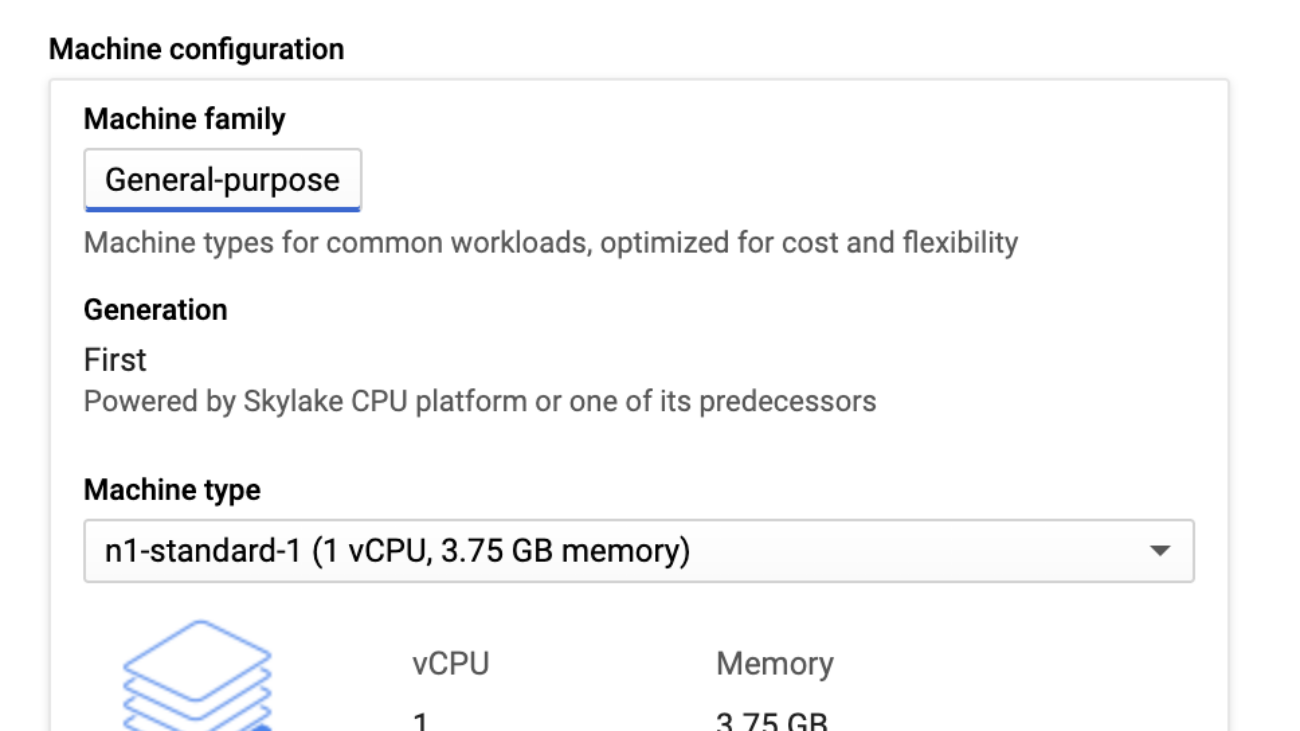
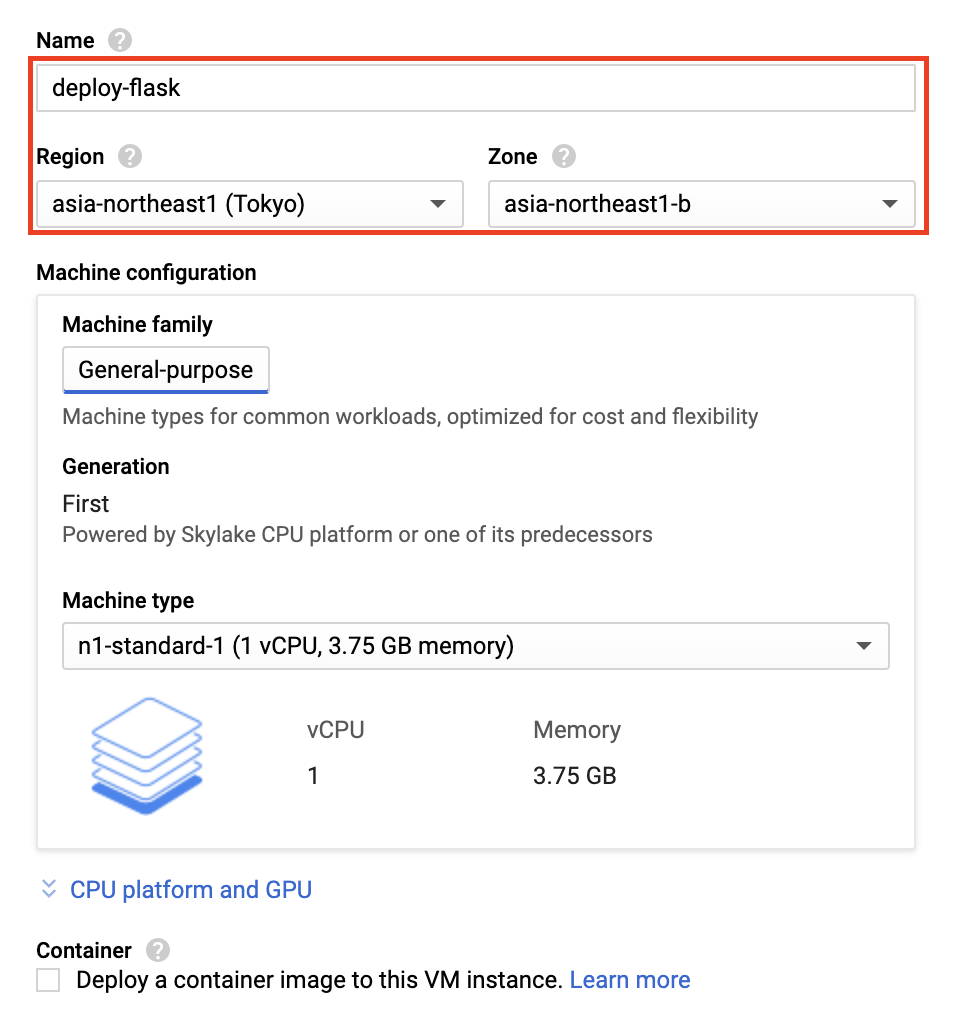
2. Click Create button, và chọn điền thông tin như sau:
Điền Name cho VM.
Chọn Region và Zone mà bạn muốn đặt VM.
Tại phần Access scopes chọn Allow full access to all Cloud APIs.
Tại phần Firewall chọn Allow HTTP traffic.
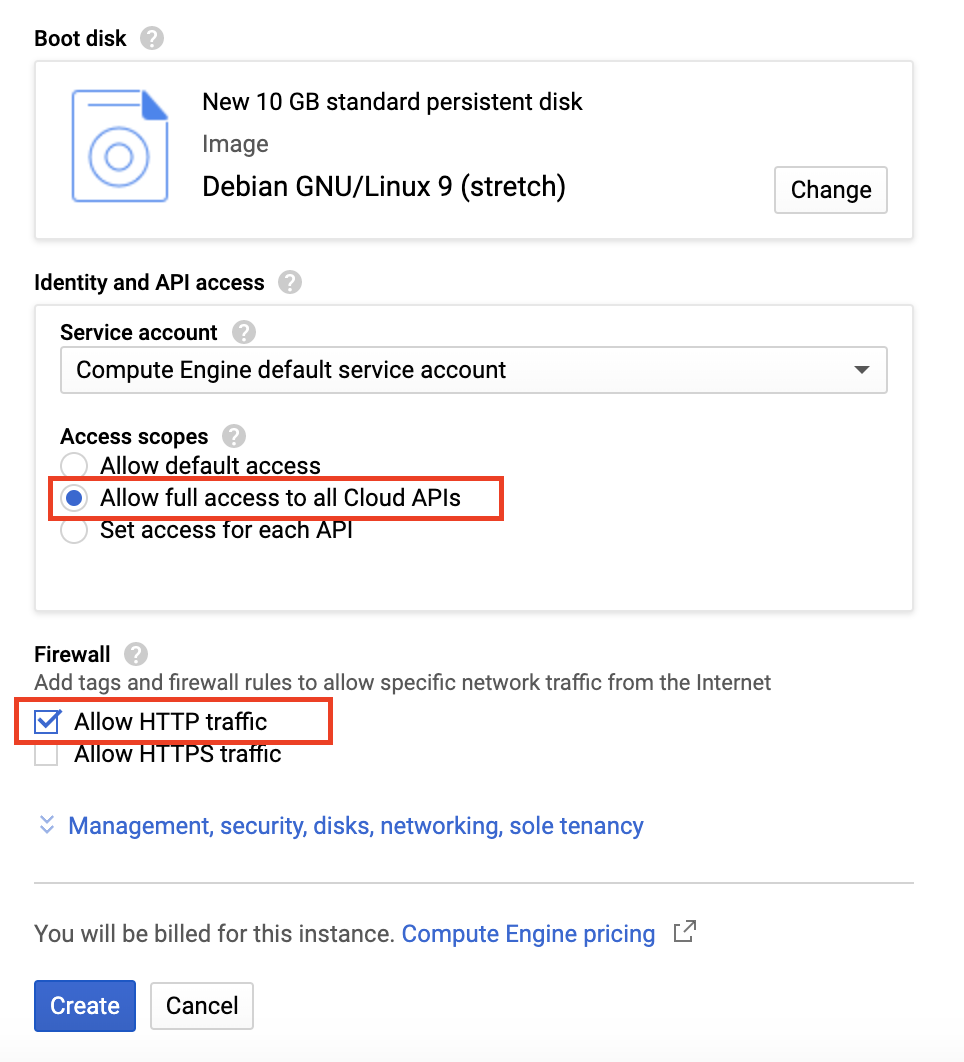
Cuối cùng click Create button để tạo VM.
Deploy Flask
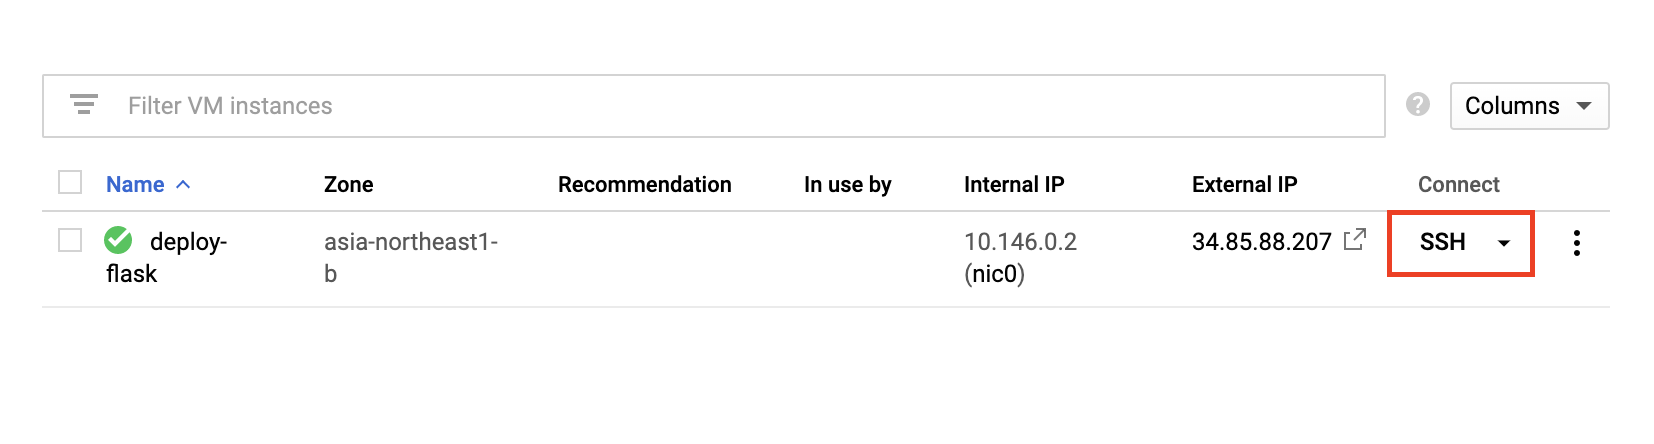
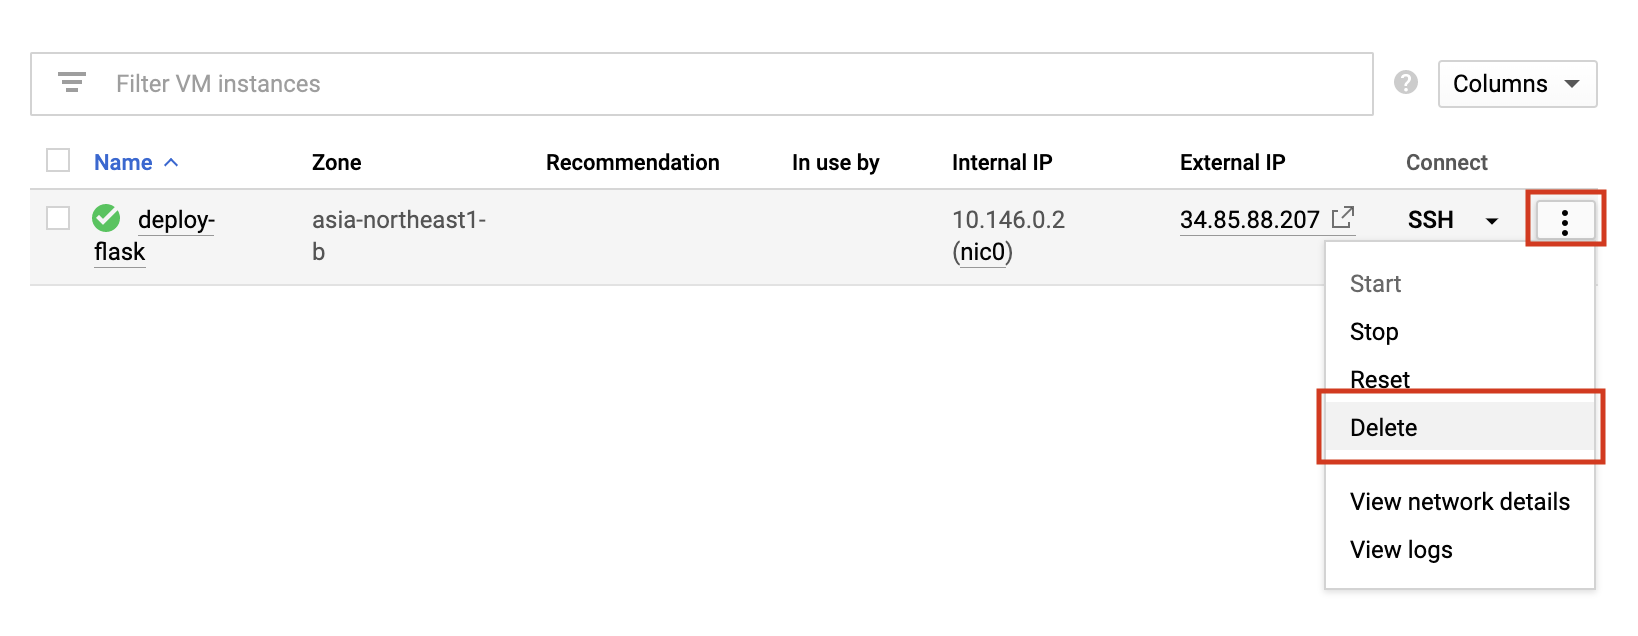
Sau khi VM tạo sẽ đc như hình dưới, click chọn SSH.
Tại pop-up thực hiện các command sau:
1. Update the Debian package list
sudo apt update2. Install Git
sudo apt install git -y3. Install python and pip
sudo apt install python2.7 python-pip4. Clone project demo
git clone https://github.com/GoogleCloudPlatform/getting-started-python5. Change the working directory to:
cd getting-started-python/1-hello-world/6. Install library
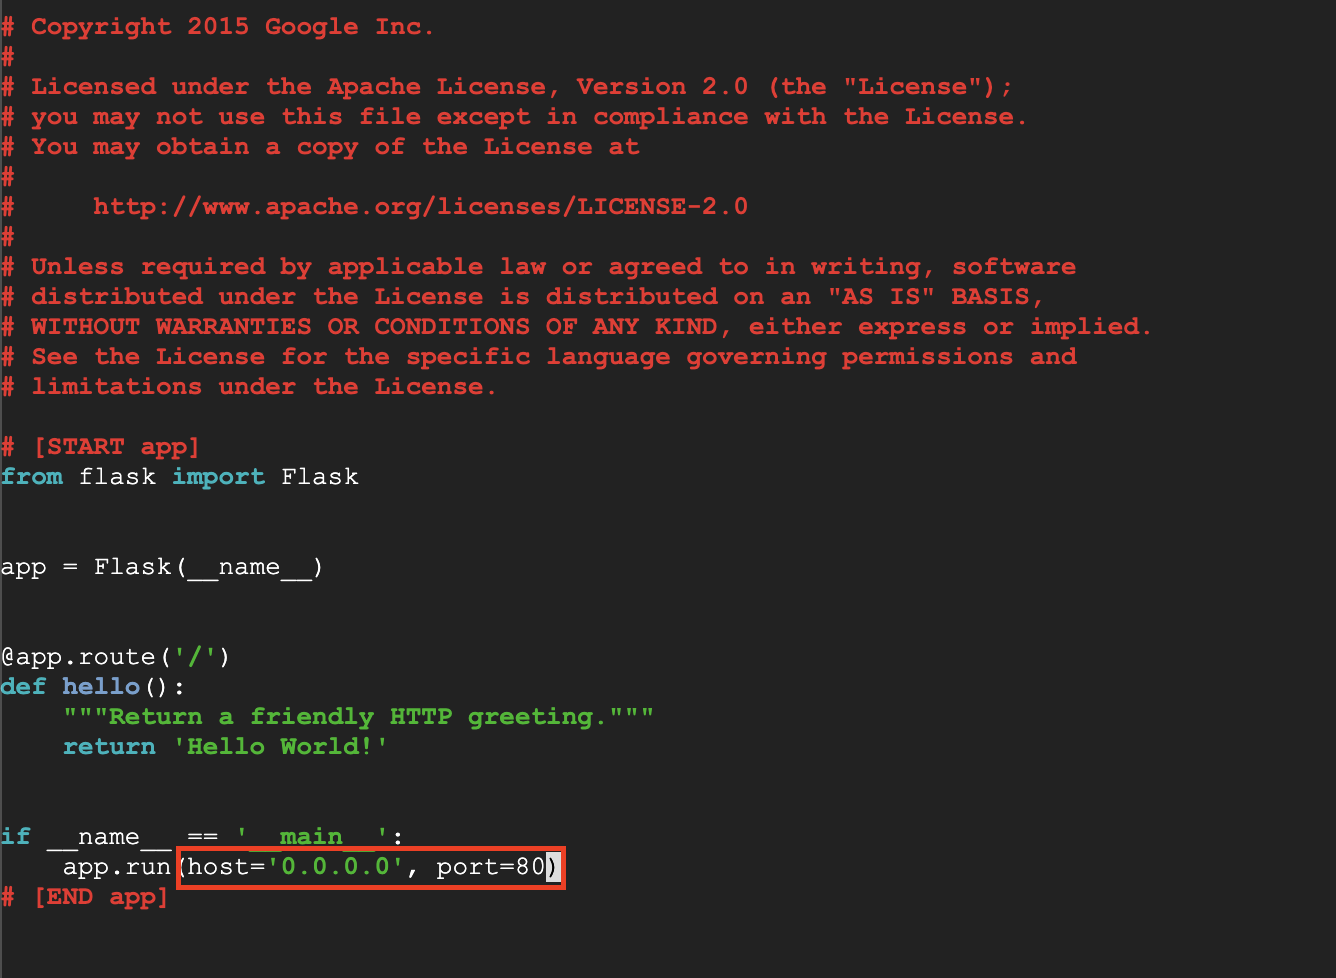
sudo pip install -r requirements.txt7. Edit file main.py
nano main.py8. Vì trong demo này không có Web Server như Apache, nên mình sẽ cho Flask chạy trên port 80. Chỉnh sửa như ảnh dưới.
9. Run server
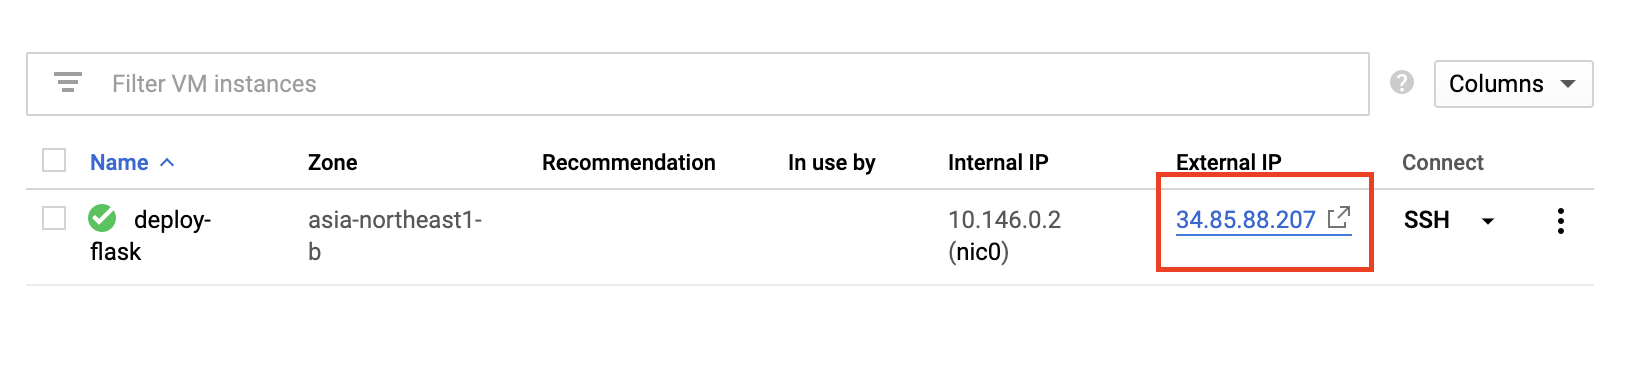
sudo python main.py10. Quay lại cửa sổ Console, Click chon Extenal IP để xem kết quả.
Vậy là chúng ta đã deploy Flask trên Compute Engine thành công. Trong bài sau chúng ta sẽ sử dụng thêm Web Server làm reverse proxy cho Flask.
Sau khi VM tạo sẽ đc như hình dưới, click chọn SSH.
Tại pop-up thực hiện các command sau:
1. Update the Debian package list
sudo apt update2. Install Git
sudo apt install git -y3. Install python and pip
sudo apt install python2.7 python-pip4. Clone project demo
git clone https://github.com/GoogleCloudPlatform/getting-started-python5. Change the working directory to:
cd getting-started-python/1-hello-world/6. Install library
sudo pip install -r requirements.txt7. Edit file main.py
nano main.py8. Vì trong demo này không có Web Server như Apache, nên mình sẽ cho Flask chạy trên port 80. Chỉnh sửa như ảnh dưới.
9. Run server
sudo python main.py10. Quay lại cửa sổ Console, Click chon Extenal IP để xem kết quả.
Vậy là chúng ta đã deploy Flask trên Compute Engine thành công. Trong bài sau chúng ta sẽ sử dụng thêm Web Server làm reverse proxy cho Flask.
Trường hợp nếu bạn không sử dụng VM nữa thì nên delete VM để không bị tính phí.